S'more Brownies

Tuesday, November 14, 2017

This is the first time in a long time I went forward with a recipe I made up in my head as I attempted to satisfy my craving for chocolate. My parents also grabbed a huge box of like six Ghirardelli mixes from Costco and I felt the need to do something with it.

The last time I made s'more brownies was in my sophomore year of college to thank a friend of mine for moving a birthday gift to my friend Maria's apartment. It was a heavy af artist's drawer set full of supplies and made of heavy wood and I felt so bad, but it was definitely a good birthday present s/o to Safa for arranging it all and finding it.
(Still can't believe I'm a college graduate because I feel like everyone I see on college campuses looks older than me.)

And of course, my family asked me if the marshmallows were halal after I took it out of the oven. Smh


Here's a video I filmed during the process.

Ingredients:

1. Triple Chocolate Ghirardelli Brownie Mix
2. 1 egg
3. 1/3 cup milk
4. 1/3 cup vegetable oil
5. 1/4 cup graham cracker crumbs
6. 4 tbsp melted butter
7. 1/2 cup HALAL marshmallows.

Recipe:

1. Preheat the oven to 350F and follow the recipe for the brownie mix. I don't think I've ever made brownies from scratch because the Ghirardelli mix is just too good to beat. Combine milk, oil, egg, and mix together.
2. Use 4 tbsp melted butter to combine with the cracker crumbs as the base of the brownies. Use your fingers and the back of a spoon to set it in place. 
3. Pour the brownie mix evenly into the pan and use a spatula to even it out more so that placing the marshmallows on top will be a smooth process.
4. EVENLY sprinkle marshmallows on top of the brownie mix, and put it in the oven for 40 minutes.
After 15 minutes of baking
2 minutes before baking is finished
5. I didn't wait for it to cool for more than 5 minutes, but I'd suggest a 15 minute cooling period before you dig in. :)

Maple Pumpkin Bread

Wednesday, November 8, 2017


I know it's almost mid-November, but I finally got around to making a fall-themed dessert. Fall is probably my favorite season despite the anxiety I have attached to this time of the year. I finally gathered the strength to finish a baking project from start to finish and am excited to share the result. Also, at the end of the video is a clip of my cat :)))

Here's a video detailing the recipe from start to finish.

Ingredients: 

  • 2 cups all-purpose flour
  • 1 teaspoon baking powder
  • 1 teaspoon baking soda
  • 1/2 teaspoon salt
  • 2 teaspoon cinnamon
  • 1 teaspoon ground nutmeg
  • 1 teaspoon ground cloves

Instead of using all the ingredients highlighted in brown, I added 4 tsp of pumpkin pie spice powder.

  • 1/2 teaspoon ginger
  • 1 1/2 cups sugar
  • 8 tablespoons unsalted butter, room temperature, save the paper to grease the pan
  • 2 large eggs
  • 1 teaspoon vanilla extract
  • 2 tbsp maple syrup
  • 2 cups pure pumpkin (one 15 oz. can)

For the maple glaze: I just combined equal amounts of powdered sugar and maple syrup until I reached the optimal amount and consistency. 

Directions:

  1. Preheat oven to 325° F. Grease two 9” x 5” loaf pans with butter and dust with flour.
  2. In a medium-sized bowl: whisk flour, salt, baking powder, baking soda, cinnamon, nutmeg, cloves and ginger and set aside.
  3. In a stand mixer, beat butter and sugar until blended. Add egg, maple syrup, and vanilla and continue beating until very light and fluffy, about 3 minutes. Add pumpkin and mix until combined.
  4. Change the mixer to the low setting, beat in flour mixture until incorporated.
  5. Pour batter into prepared pan and bake for 1 hour, stick a toothpick in the middle of the loaf and see if it comes out clean. Let pumpkin bread cool in pan about 10 minutes before removing it onto a wire rack.
  6. Pour the maple glaze over the loaves and enjoy.
This image shows how the loaf pan should look after being greased and dusted over with flour, and how the batter should look before you put it in the oven! 
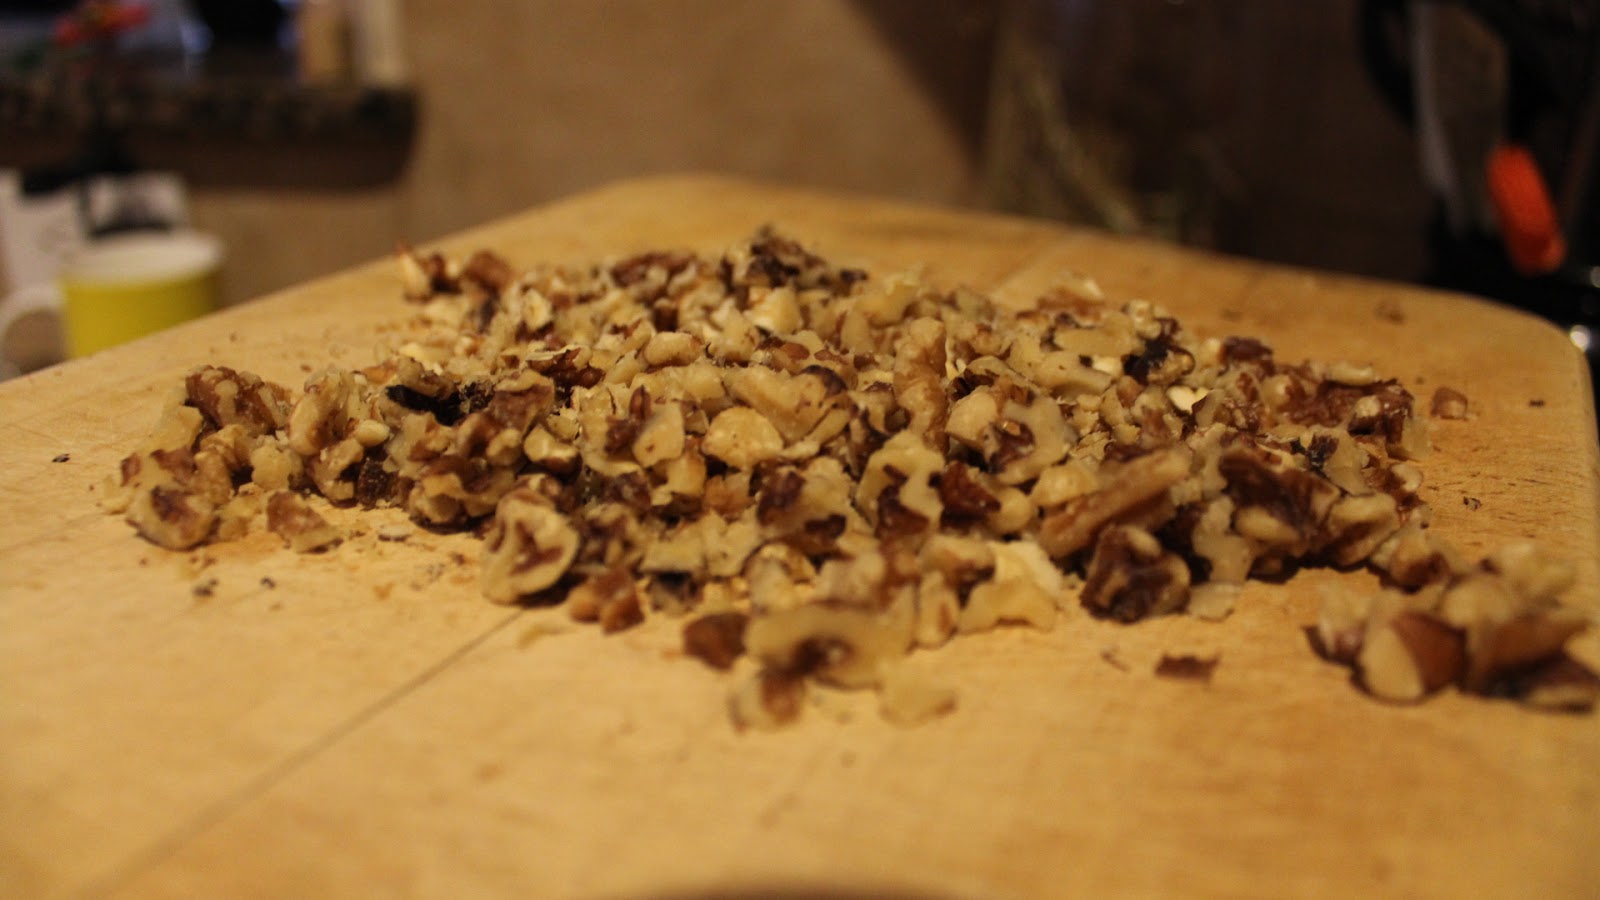
I added walnuts just to give the bread texture. 

Glaze is important


Was super excited to put this apron to use again s/o Saleha :)

Cinnamon Coffee LOTR Themed Bridal Shower Cake

Wednesday, August 9, 2017


My dear friend Faraha is getting married this weekend i'A and wanted a Lord of the Rings themed bridal shower. She had a pinterest going for months and so we had the decor figured out, but I actually struggled a bit with this cake. On pinterest all the LOTR cakes are very fondant-heavy and I don't like fondant...I don't know anyone who does either haha. To me it isn't even edible, so I wanted to make the cake decorations relevant to the theme but also with the least amount of fondant possible. I love piping buttercream more than shaping fondant as well. 
This cake was difficult to make because I didn't have a set picture in my mind before I started, I sort of kept going at it and seeing if it worked out. I tried to make this forest-y to match the many forests in LOTR, as well as including a gold spray-on strip and gold rings made of fondant. This cake had a buttercream coffee filling and was the first cake I made using the leaf piping tip (352 I believe). The bride loves coffee-flavored things, so I knew I was going to use this recipe as soon as I saw it while scrolling on Instagram. 

This cake yields two 6 inch layers.

Ingredients (cake): 
  • 2 1/4 cups all purpose flour
  • 1 cup granulated sugar
  • 1 tablespoon baking powder 
  • 1/2 tsp salt 
  • 1 tsp cinnamon
  • 1 1/4 cup milk
  • 1/2 cup vegetable oil
  • 2 tsp apple cider vinegar 
  • 1 tsp coffee extract 
  • 1/4 tsp vanilla
Instructions:
  1. As always, preheat the oven to 350 degrees Fahrenheit, and prepare 2 6-inch cake pans by buttering and flouring.
  2. Mix the first 5 ingredients (all dry ingredients) in a  stand mixer first.
  3. Slowly add the rest (wet ingredients) and increase the speed until the batter is well-formed.
  4. Divide half of the batter in each cake pan
  5. Bake for 30-35 minutes depending on when the inserted toothpick comes out clean from the middle.
  6. Let it cool on a cooling rack for 10 minutes before preparing the buttercream, then set in fridge until served.


Iftar Dawat #Adulting

Saturday, June 3, 2017

I've wanted to have an all-girls iftar for some time and learned so much with hosting my first actual dawat.

  1. Pre-plan everything. You won't have time an hour or even two hours before iftar. 
  2. Don't plan to put up decorations the day of. You won't have the time (or energy — even if you're not fasting) 
  3. Try to host an iftar when you know you're not fasting. Do this for your own sanity. 
  4. Cook all meat before the day of, try to even cook one or two dishes before the day of the iftar. 
  5. On the day of — start preparing early, so you can relax a bit before 7 pm when you're putting together all the last minute preparations. 
  6. An apron is your best friend! Shoutout to my roommate Saleha for getting me one. I'll post a picture of it soon because it came in so clutch today. 
  7. Designate one person to pass out the dates at Maghrib. 
  8. I still think praying maghrib after dates and water/juice is the easiest way to go. 
Here's some of the food I made: 

Vanilla Pudding Fruit Cups

Simplest dessert to make. I just used a vanilla pudding Jello powder and topped it with sliced strawberries and blueberries. 

 Chicken Sliders:

Dessert

 Strawberry Cupcakes:

...and the most important guest!


Latest Instagrams

Latest Instagrams

© Food Story Sunao. Design by Fearne.